Your packaging is often the first interaction a customer has with your brand – and first impressions count. Research shows that 72% of consumers say a product’s packaging design influences their purchase decisions, making your packaging choices critical to business success. In today’s trillion-dollar packaging industry, understanding how to navigate from initial design concept to final delivery can mean the difference between a memorable brand experience and a missed opportunity.
As Vickie VanHurley, Design Director at Meijer, puts it: “Packaging is the ‘skin of commerce.’ It should be designed to initiate a relationship with shoppers.”
This comprehensive guide will demystify the journey from concept to completion, walking you through seven essential stages of the packaging production process. Whether you’re launching a luxury cosmetics line or developing sustainable food packaging, these fundamentals will help you create packaging that protects your product and elevates your brand.
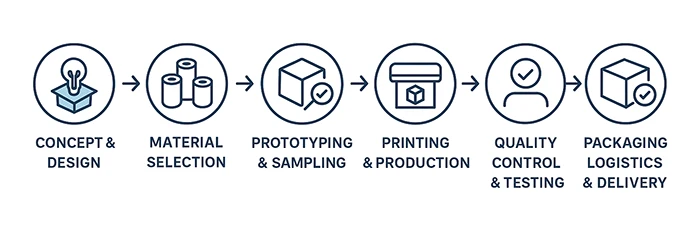
Packaging Production at a Glance
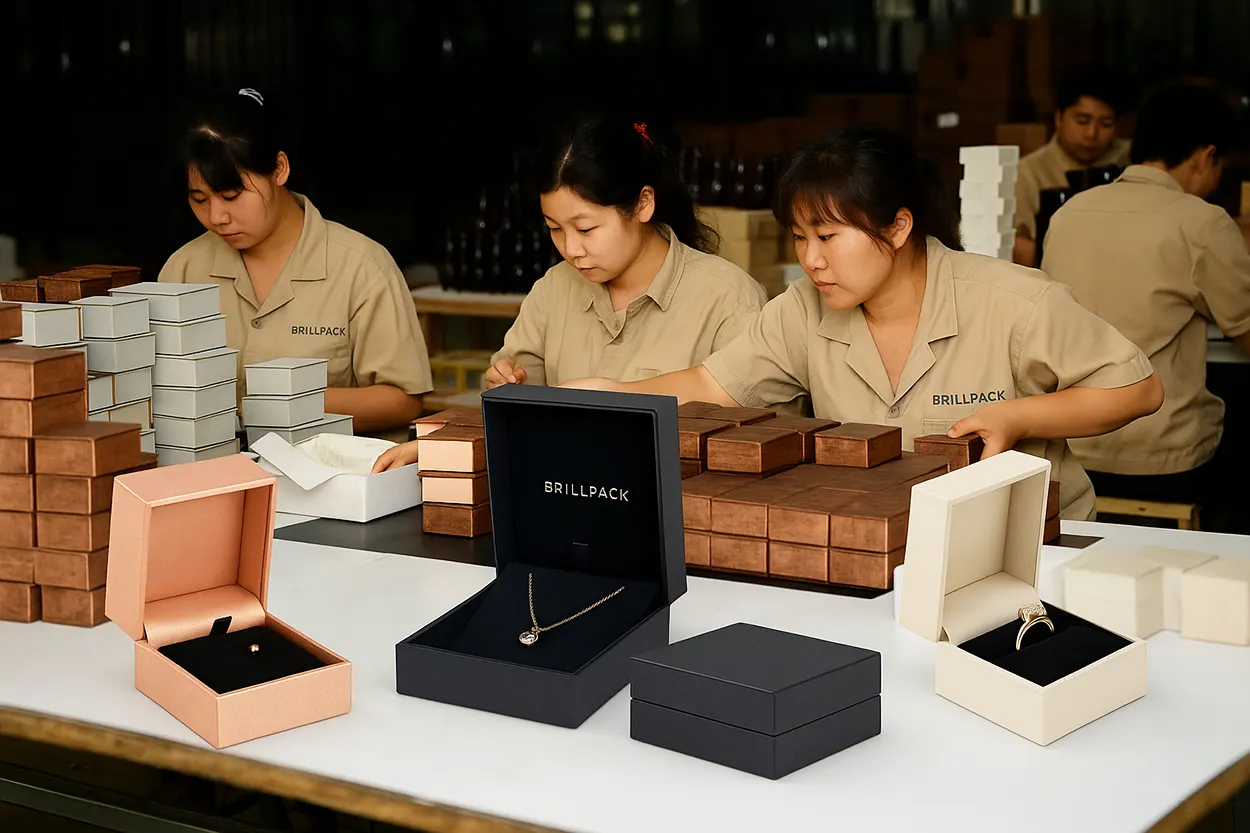
From concept to delivery, here’s how BrillPack transforms your vision into custom packaging.
Step 1: Concept & Design
The packaging production process begins with a solid foundation: understanding your brand, audience, and objectives. This isn’t just about making something look pretty – it’s about creating a strategic asset that serves multiple purposes.
Understanding Your Brand and Audience
Start by defining the purpose of your packaging. Are you prioritizing protection for shipping, creating an premium unboxing experience, or balancing both? Your target audience and brand values should drive these decisions. A luxury jewelry brand will approach packaging differently than an eco-conscious food company, even if they’re using similar materials.
Consider your customer’s journey: Where will they encounter your product? How will they interact with the packaging? What emotions do you want to evoke? As one packaging consultant notes, “Custom packaging is not just a box; it’s a storytelling tool that connects with customers emotionally.”
Structural Design
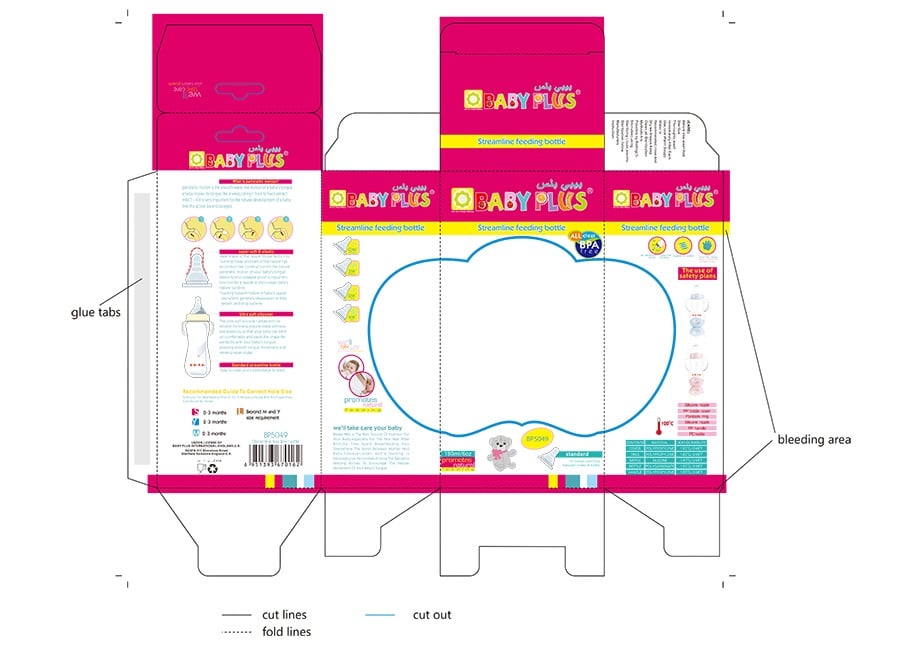
Design encompasses more than graphics – it’s also the engineering of your package. This involves creating dielines (templates for cutting and folding) and determining the structural integrity needed for your product. Modern packaging design often uses CAD software to ensure precision and functionality.
Working closely with packaging designers or suppliers during this phase is crucial. A consultation can save significant time and prevent costly revisions later in the process. Many packaging issues stem from structural oversights that could have been caught in the design phase.
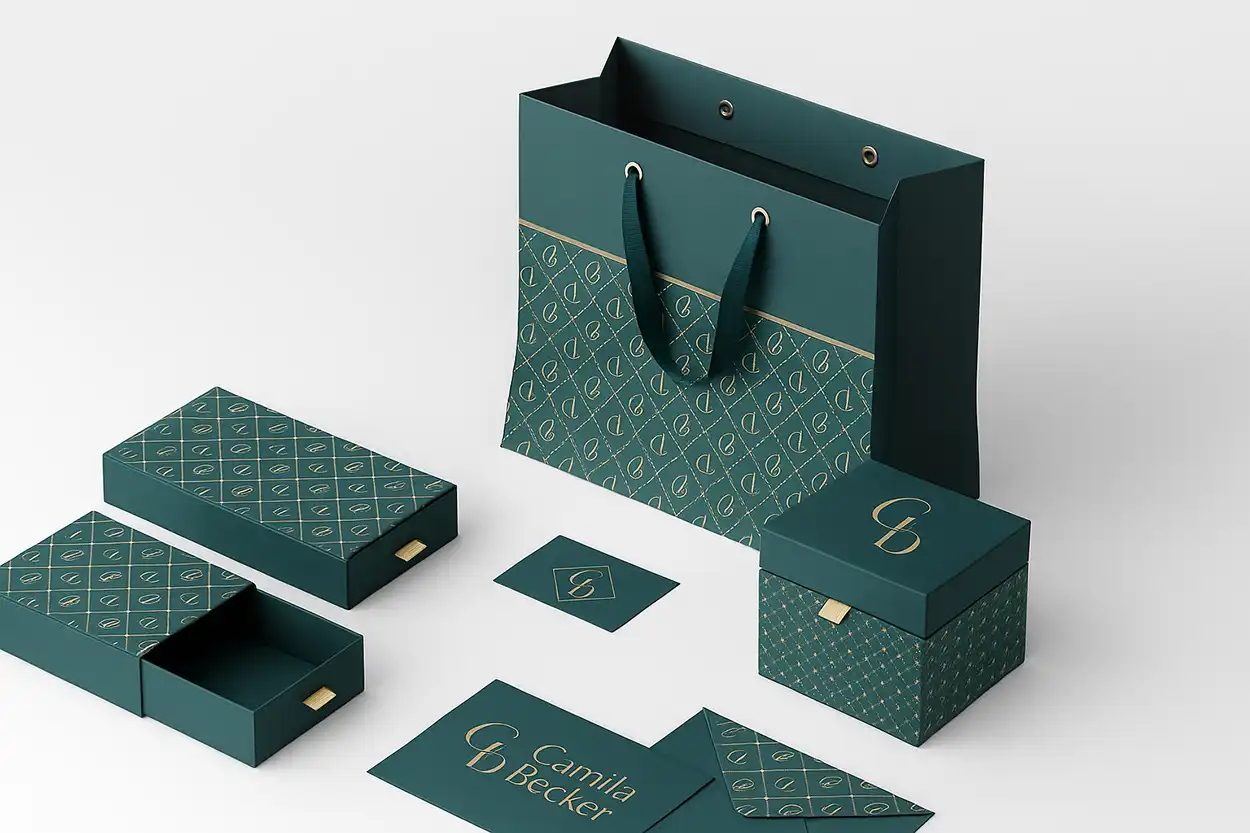
Graphic Design & Branding
Your visual elements – colors, typography, imagery, and layout – must work harmoniously to communicate your brand message. Pay special attention to color selection, as screen colors often differ from print results. Consider using Pantone color matching or requesting print proofs to ensure brand consistency.
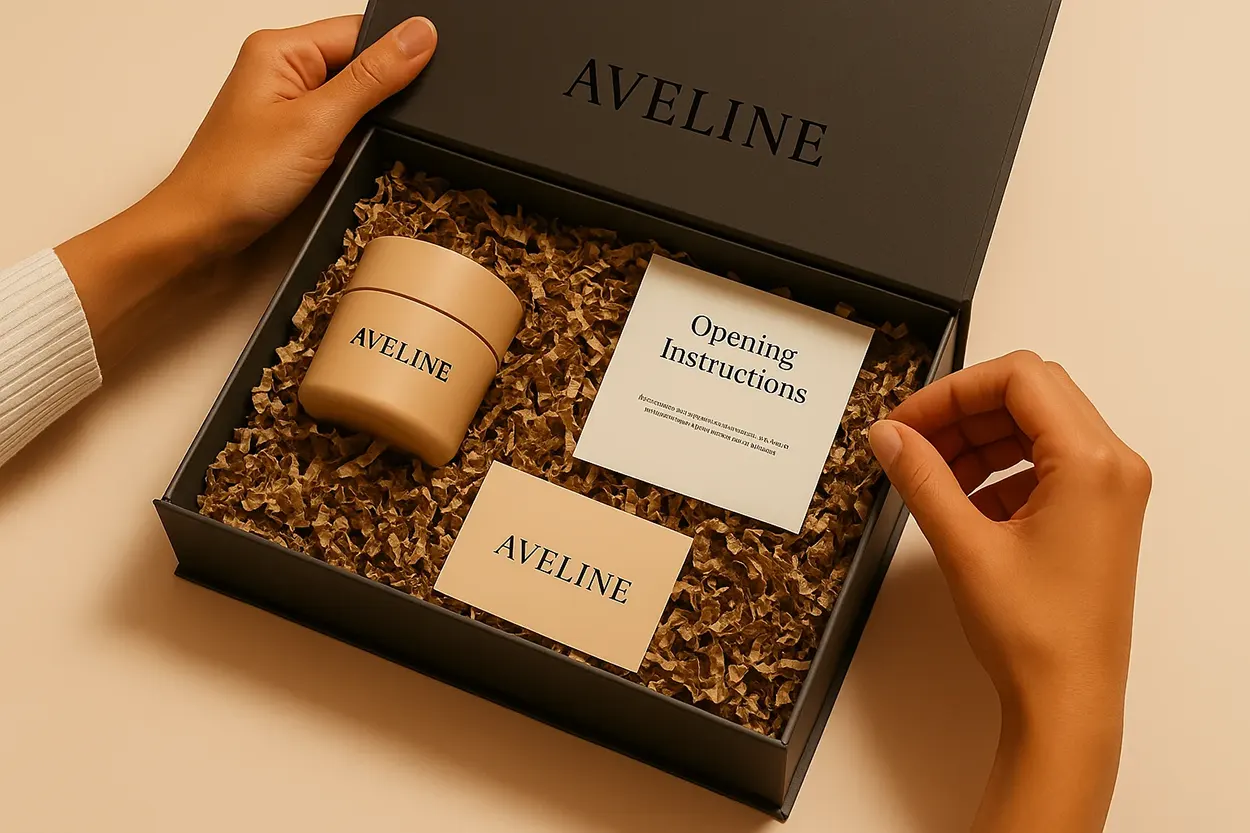
At this stage, invest in design proofs or 3D mockups to visualize your package before moving to production. This small upfront cost can prevent major disappointments and expensive reprints later.
Step 2: Material Selection
Choosing the right materials affects everything from product protection to environmental impact, cost, and brand perception. Your material selection should align with your brand values, budget, and functional requirements.
Material Types & Suitability
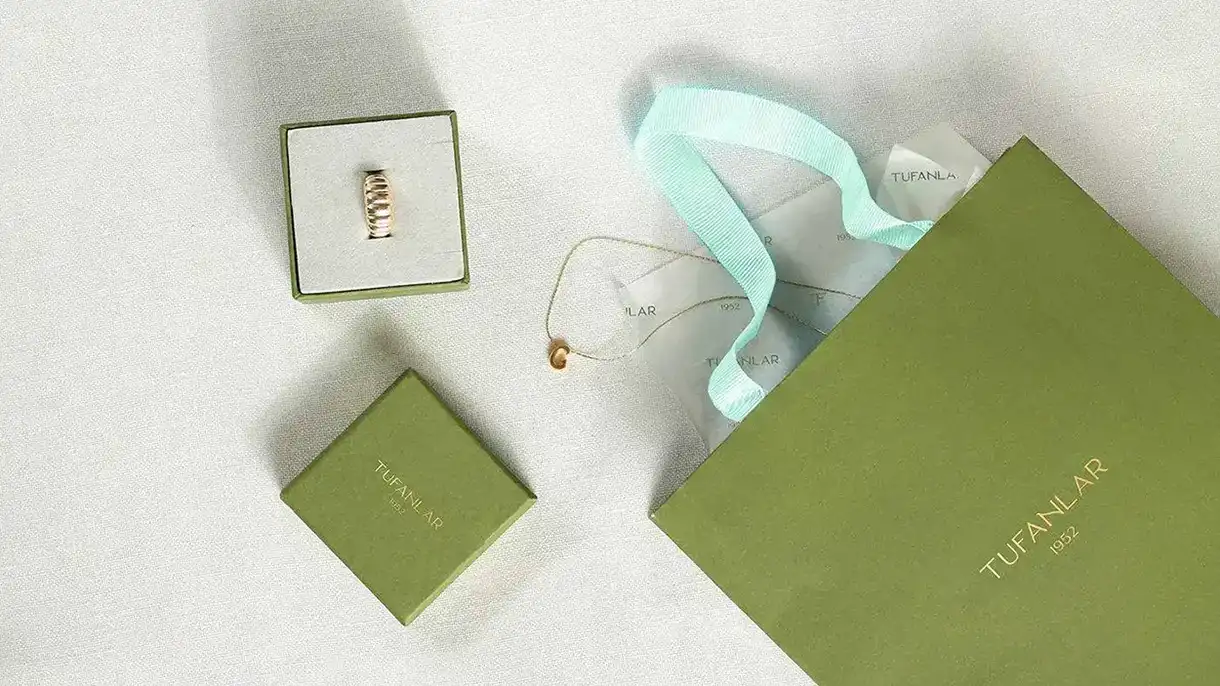
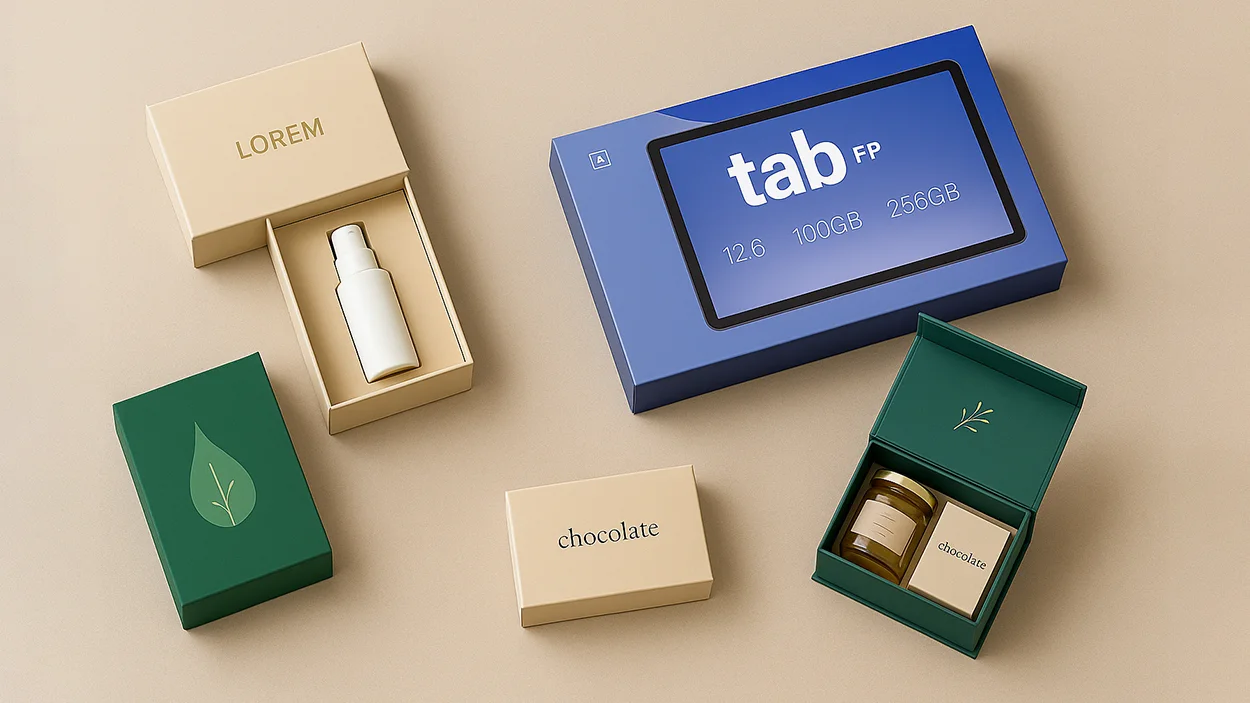
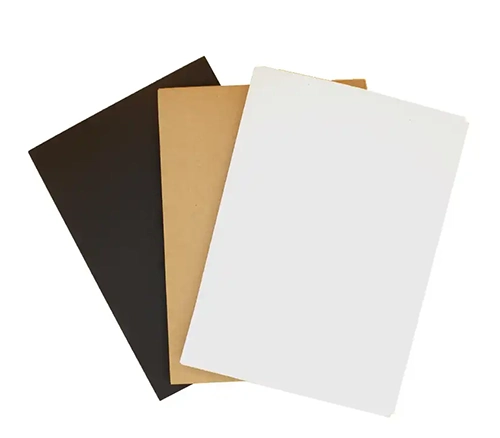
Paperboard offers lightweight versatility perfect for retail boxes and provides excellent printability for vibrant graphics. Corrugated cardboard delivers superior strength for shipping applications, while rigid boards create that luxury feel coveted by high-end brands. Sustainable options like recycled paperboard or plant-based materials cater to environmentally conscious consumers and brands.
For specialized applications, consider glass or metal for products requiring barrier protection, or flexible materials for pouches and bags that need to conform to product shapes.
Factors in Material Choice
Balance durability with cost-effectiveness. Rigid setup boxes command premium prices and create exceptional unboxing experiences, but they’re heavier and more expensive to ship. Meanwhile, kraft corrugated offers eco-friendly strength at a lower cost but with less visual impact.
Industry regulations also play a role. Food-grade packaging must meet FDA standards, while cosmetics may require specialized barrier linings. Understanding these requirements early prevents costly compliance issues later.
Sustainability Considerations
Consumer preference is shifting dramatically toward sustainable packaging. Studies show that 78% of Americans are more likely to purchase products packaged in paper or cardboard due to environmental benefits. Consider FSC-certified materials, recycled content, or compostable options that align with your brand values.
Design efficiency also impacts sustainability. Right-sizing your packaging reduces material waste and shipping costs while demonstrating environmental responsibility.
Step 3: Prototyping & Sampling
Before committing to full production, prototyping validates your design decisions and prevents expensive mistakes. This critical step is where theory meets reality.
Why Prototype
Prototyping is your safety net against costly production errors. It’s far cheaper to identify and fix issues during sampling than after manufacturing thousands of units. A well-tested package ensures customer satisfaction and prevents costly errors in production.
Types of Prototypes
You’ll likely encounter both digital prototypes (3D renders for visualization) and physical prototypes (actual samples you can handle). While digital versions help with initial concept approval, physical prototypes are essential for comprehensive testing.
What to Test
Evaluate your prototype against the five core requirements of packaging: Protection (will it survive drop tests?), Convenience (is it user-friendly?), Communication (does it convey your brand message clearly?), Sustainability (does it meet environmental goals?), and Compliance (does it satisfy regulatory requirements?).
Test product fit carefully – items should be secure without being difficult to remove. Conduct drop tests and gather feedback from multiple users to identify potential issues with opening, handling, or disposal.
Iterate as Needed
Don’t rush this stage. If colors print differently than expected or the structure doesn’t provide adequate protection, refine your design and sample again. The iterative nature of packaging design means testing materials, structure, and artwork before mass production is not just advised – it’s essential.
Budget 1-2 weeks for the sampling process, including shipping time. This investment in validation pays dividends in final product quality.
Step 4: Printing & Production
With your design validated, production transforms your concept into reality through precise manufacturing processes.
Pre-press Preparation
Your finalized design enters pre-press preparation, where printing plates are created for offset or flexographic printing, or files are prepared for digital printing. Modern Computer-to-Plate (CTP) technology ensures exceptional precision in plate creation.
This stage includes final color calibration using industry standards like G7 color management. Approve color proofs to ensure your brand colors translate accurately to the final product.
Printing Methods
Offset printing delivers high-quality results for large volumes using CMYK color plates. Digital printing excels for smaller batches or projects requiring variable printing without the need for plates. Flexography often handles plastics and continuous materials, while screen printing works well for specialty inks or smaller volumes.
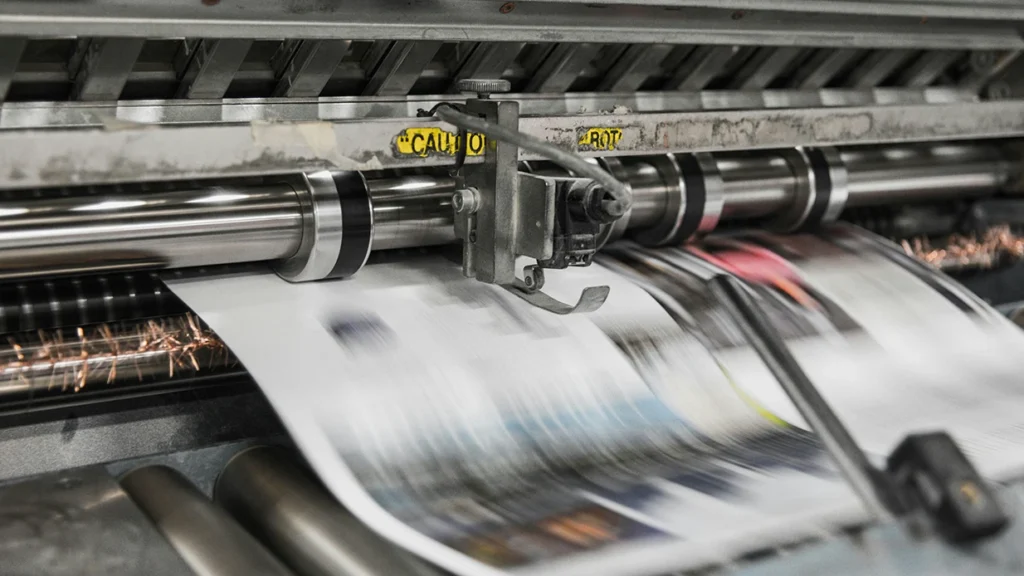
For most custom boxes, offset printing provides the ideal balance of quality and cost-effectiveness for substantial orders, while digital printing offers flexibility for smaller runs or prototypes.
Finishing & Add-ons
Post-printing finishes enhance both appearance and functionality. Lamination options include glossy (high shine), matte (sophisticated feel), or soft-touch (luxurious texture). UV coatings provide spot highlights or overall protection, while foil stamping and embossing add premium tactile elements.
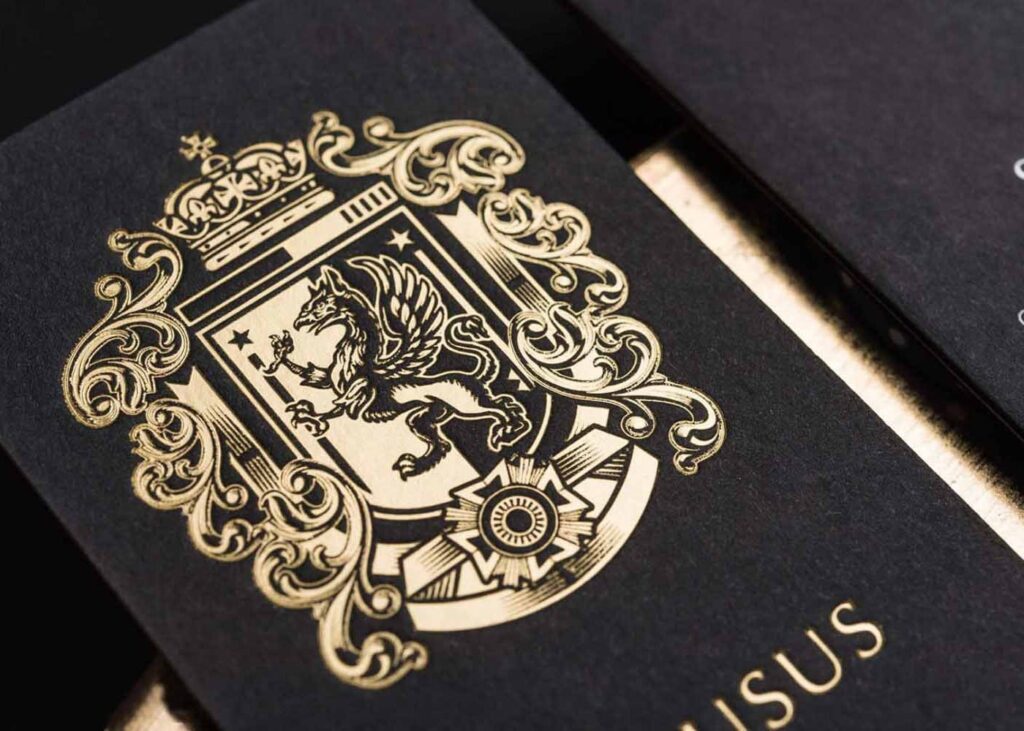
Use these finishes strategically – they increase both cost and production time but can significantly impact brand perception. A luxury product might justify gold foil and embossing for market differentiation.
Cutting & Assembly
Printed sheets undergo die-cutting using metal dies (essentially large, precise cookie cutters) to create your package shape and fold lines. Modern laser cutting can handle intricate designs for specialized applications.
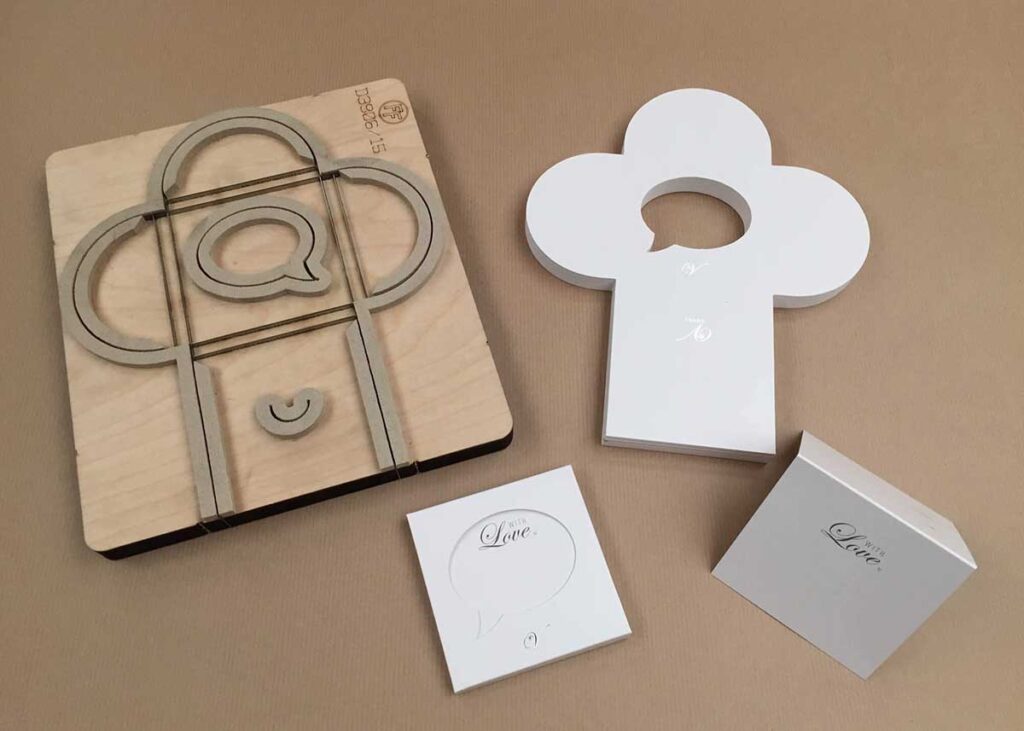
Final assembly involves folding and gluing components. Some packaging ships flat for space efficiency, while premium options like rigid boxes typically arrive pre-assembled and ready to use.
Step 5: Quality Control & Testing
Quality assurance ensures your packaging meets performance standards and represents your brand properly.
In-line Quality Checks
Reputable manufacturers conduct quality checks throughout production, monitoring print alignment, color consistency, and structural integrity on sample units from each production run.
Batch Testing
Finished packaging undergoes formal testing appropriate to its intended use. Drop tests with weighted products ensure seam integrity, while compression tests verify that boxes won’t crush under stacking pressure. Flexible packaging requires seal integrity testing to prevent leaks.
Industry-specific testing might include child-resistant certification or light exposure testing, depending on your product requirements.
The Four C’s Framework
Evaluate packaging quality using the four C’s framework: Cost-effective (does it meet budget requirements?), Convenient (is it user-friendly?), Communicative (does it convey necessary information?), and Compliant (does it meet all regulatory standards?).
Client Approval
When possible, inspect production samples before full run completion. Many suppliers provide production proofs – actual samples from the production line – for final approval. This is your last opportunity to catch issues before full production.
Step 6: Packaging Logistics & Delivery
The final stage involves getting your finished packaging from the production facility to your location, ready for use.
Packing and Shipping
Packaging units are carefully packed for shipment, often flat-packed to minimize shipping volume and costs. Pre-assembled options are available but typically cost more due to increased shipping space requirements.
Proper packing protects your investment – palletizing, shrink-wrapping, and moisture protection ensure your packaging arrives in perfect condition.
Shipping Options & Timing
Choose between air freight (1-3 weeks, higher cost) and ocean freight (6-8 weeks, economical) based on your timeline and budget. Air shipping offers speed but increases both cost and carbon footprint, while ocean freight provides economy with longer lead times.
Storage & Integration
Plan storage space before your packaging arrives. Five thousand flat-packed boxes might require two pallets of dry, clean storage space. Some suppliers offer split shipments or inventory management services to help manage storage requirements.
Consider the transition from receiving packaging to using it for product fulfillment. Complex assemblies might benefit from supplier demonstrations or detailed instructions to ensure smooth integration into your packing process.
Conclusion & Final Tips
Successfully navigating the packaging production process from design to delivery requires understanding each stage’s importance and allowing adequate time for quality execution. Skipping steps or rushing through stages often leads to costly revisions, delays, or brand image issues.
Start early – allow 3-4 months for new packaging projects to accommodate design development, sampling iterations, production time, and economical shipping options. While rush options exist, planning ahead saves money and reduces stress.
Work with experts who understand your industry’s specific requirements and can guide you through potential pitfalls. An experienced packaging partner can make the difference between a smooth process and a frustrating experience filled with unexpected challenges.
The packaging production process might seem complex, but with proper planning and expert guidance, it becomes a manageable journey that culminates in packaging that protects your product and enhances your brand.
Ready to turn your packaging vision into reality? The key to success lies in understanding each step of the process and partnering with experienced professionals who can guide you from initial concept through final delivery. With the right approach, your packaging will become a powerful tool for building customer relationships and driving business growth.